*This post may contain affiliate links. As an Amazon Associate we earn from qualifying purchases.
Though the iPhone might be great for taking videos, it is not so good for viewing them. Many iPhone users prefer to transfer their videos onto their Mac computer so they can view them, edit them more easily, and backup important videos. Keep reading this article to discover how to import videos from iPhone to Mac.
How to Import Videos From iPhone to Mac in 8 Easy Steps
Moving videos from your iPhone to your Mac is quick and easy with the Photo Library that is built into the Mac operating system. Here are the steps you need to follow:
- Connect your iPhone to your Mac. This may be done with an USB cable or by inserting your phone’s SD card into your Mac’s SD slot.
- Enter your password and tell your phone to “Trust This Computer” when prompted.

- Open the Photos app on your Mac computer. On some Mac computers, this app will open immediately as soon as you connect your phone.
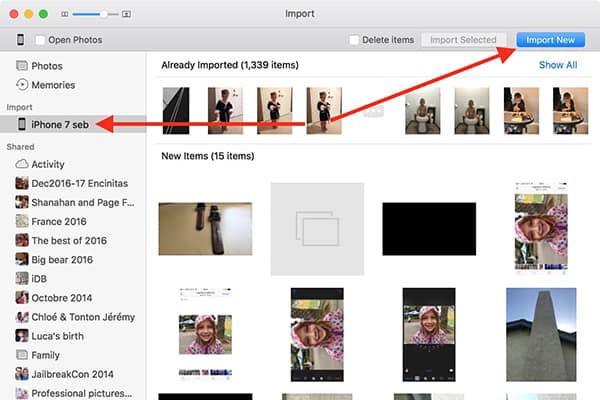
- Click the Import tab located at the top of the Mac Photos app if the import screen does not automatically pop up.

- Select the name of your phone from the list of devices if you have multiple Apple devices plugged in to your computer.
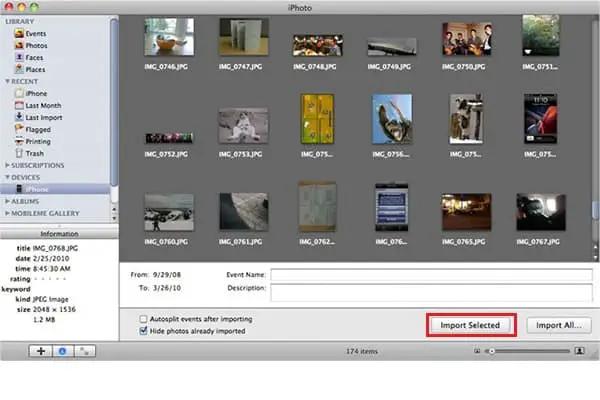
- Scroll through all your videos and pictures to find the ones you want to import, if you only want to import a few items.
- Highlight desired videos and click the “Import Selected” button to move just those over to the Mac.
- Skip steps 6 and 7 if desired, and just click the “Import all new videos” option instead.
Once the import is complete, any videos will be safely stored on your computer, so you can delete them from your phone to clear up space. The process typically works well, unless there is not enough storage on your Mac. If you run into any other issues, contact Apple support.