Table of Contents
*This post may contain affiliate links. As an Amazon Associate we earn from qualifying purchases.
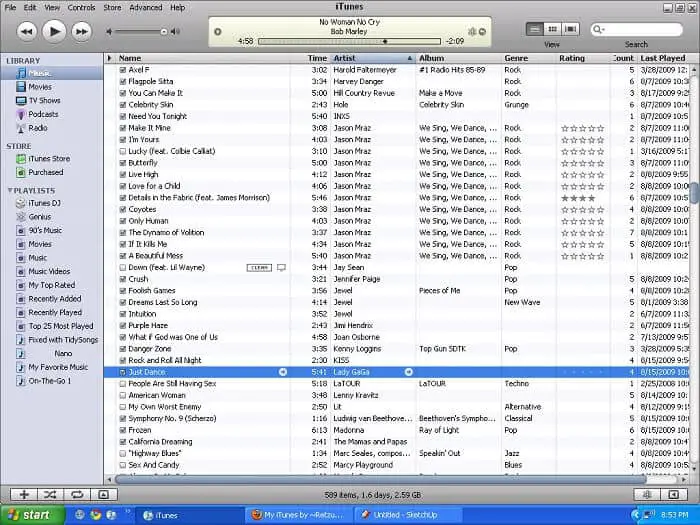
Even though the latest version of iTunes makes it more difficult to duplicate songs, you may still find duplicates in your iTunes playlist. This may happen because a song appears on multiple albums, such as the artist’s album and a movie soundtrack. You may also see different versions of the same song that are quite similar. Regardless of the case, this article will show you how to delete duplicate songs in iTunes.
If you have downloaded song duplicates this will all take up space on your device. Deleting duplicates will allow you to create more space, and make it easier to navigate through iTunes library. This article will show you how to delete duplicate songs in iTunes regardless of the device you are using, whether it is an Apple device or a Microsoft computer.
How to Delete Duplicate Songs in iTunes

- Open your iTunes app
- Go to the Help tab
- Click on Check for Updates
- Wait for the potential update to finish installing
- Go to your iTunes Library
- Hold down the Shift or the Alt-Option button
- Go to the View Tab
- Click on Show Exact Duplicate Items
- Now you can see all of your duplicate files
- Drag the mouse cursor to each song you want to get rid of and press the Delete button
Congratulations! You now know how to delete duplicates in iTunes. All the songs you have selected will now be removed from each and every device connected to your iTunes library. In this manner, you can very easily and quickly get rid of multiple duplicate files. If you know how to delete duplicates in iTunes 12, you can certainly also do it for the 11 version of the software.
It is very important that you have all the current updates installed before attempting this procedure. This is why I included the steps. For PC users, the updates are usually done automatically. Mac users, however, will have to check manually.
For those not in the know, iTunes has a pretty interesting feature when it comes to duplicates. You can, for example, skip step 6 altogether, and then the Show Exact Duplicate Items option will be replaced with Show Duplicate Items.
This is a very useful feature for people who own multiple versions of the same song. For example, somebody can own both the live and the studio version of a song. If the song is duplicated and the person selects the Show Duplicate Items option, they will also see the alternate version. Meanwhile, the Show Exact Duplicate Items option will only show the exact duplicates.
How to Make Sure that Your Tracks Don’t Get Duplicated

While iTunes 12 should theoretically not allow the creation of duplicates anymore, it’s still a good idea to check once in a while. Otherwise, you could find yourself in an awkward situation similar to the ones discussed above. So, here’s what you have to do to make sure that your audio tracks won’t get duplicated by iTunes.
- Open your iTunes
- Go to Preferences
- Click on Advanced
- Check the Keep iTunes Media Folder box
- Click on Reset All Dialog Warnings
- Click on OK to confirm the changes
Now, iTunes should be set up so that it keeps your music folder organized. It should pretty much stop importing all duplicates and keep your library as clean as the day you first started using – minus all the tracks you have imported yourself. But if you were to accidentally try and import a duplicate, your iTunes will know this and stop you from doing it.

We hope that we’ve managed to help you learn how to delete duplicates in iTunes in more than one way, as well as how to make sure that your library stays neat and tidy. Please let us know if you’d like us to approach any particular subject, as well as if you have any observations.
